

I know it's almost Christmas, but better late than never... and when I say never, I really mean never. This post might be lost to the abyss of mommy-brain for-EVER. So without further ado, the final Down the Rabbit Hole Halloween post... part one.
So here's a two-part, how-to post on making a full body animal costume by modifying a great free costume available from PBS.org --> Buddy the Dinosaur Costume. The first part will be just dealing with the body and then I'll write a separate post for the head.
My biggest worry about this costume was finding material that looked like cat fur. Luckily, animal printed fleece is actually quite easy to find. And it's usually on sale making the fact that this pattern has very generous yardage allowances (and a lot of leftover fabric) a little easier to swallow. I made my son the extra small (ages 3-4) and I probably fit it into just over one yard of fabric. Now I am a bit crazy with fitting my pattern pieces onto as little fabric as possible (think tetris crazy), but I'm fairly sure that a yard and a half would be more than enough for most. Anyway, what I'm trying to say is that I have a lot of grey cat printed fleece that will be showing up in projects later on :)
The body part of the costume comes together more or less according to the instructions. I didn't use the feet of the costume because the kids need to wear boots most Halloweens around here anyway. I also finished the neckline by simply folding down a narrow hem and sewing it down. Fleece doesn't fray and is quite stretchy so there's really no need to finish the neckline with bias tape or anything else that requires extra fuss. Besides, pretty finishes aren't really needed on a child's costume, are they?
The tail needs to be modified to whatever tail shape best suits your costume; in my case, it was a curvy feline tail. It gets inserted in exactly the same way as the dinosaur tail would, you just have to readjust the size of the opening and decide if you want it to sit high on the bum or low. If you're unsure you could always sew up the whole pants seam and pick out the stitches later in the area where you want to place the tail.

Yes, that's crayon and glue all over my table. My daughter has become the first (and hopefully only) child in our family who feels the uncontrollable urge to use crayons and markers on non-drawing surfaces. Ditto for using scissors in unorthodox places. Also true for paint and glue. Whodathunk that the boys would be the relatively well behaved ones in the craft room?

And that's the extent of modifying that had to be done to make this free dinosaur body into a cat body. :)
I also took a few pictures of how I inserted the zipper because that's the only part of the pattern where a beginner sewer might get hung up. Here's a picture of the front seam sewn from the crotch to the point where the zipper will be inserted, the wrong side of the fabric is facing us right now.

Notice how the seam allowance is deeper where the zipper is to be inserted. On the left side of this seam allowance, fold the fabric edge down twice so that the seam allowance becomes the same depth as the same as the lower part of the seam.
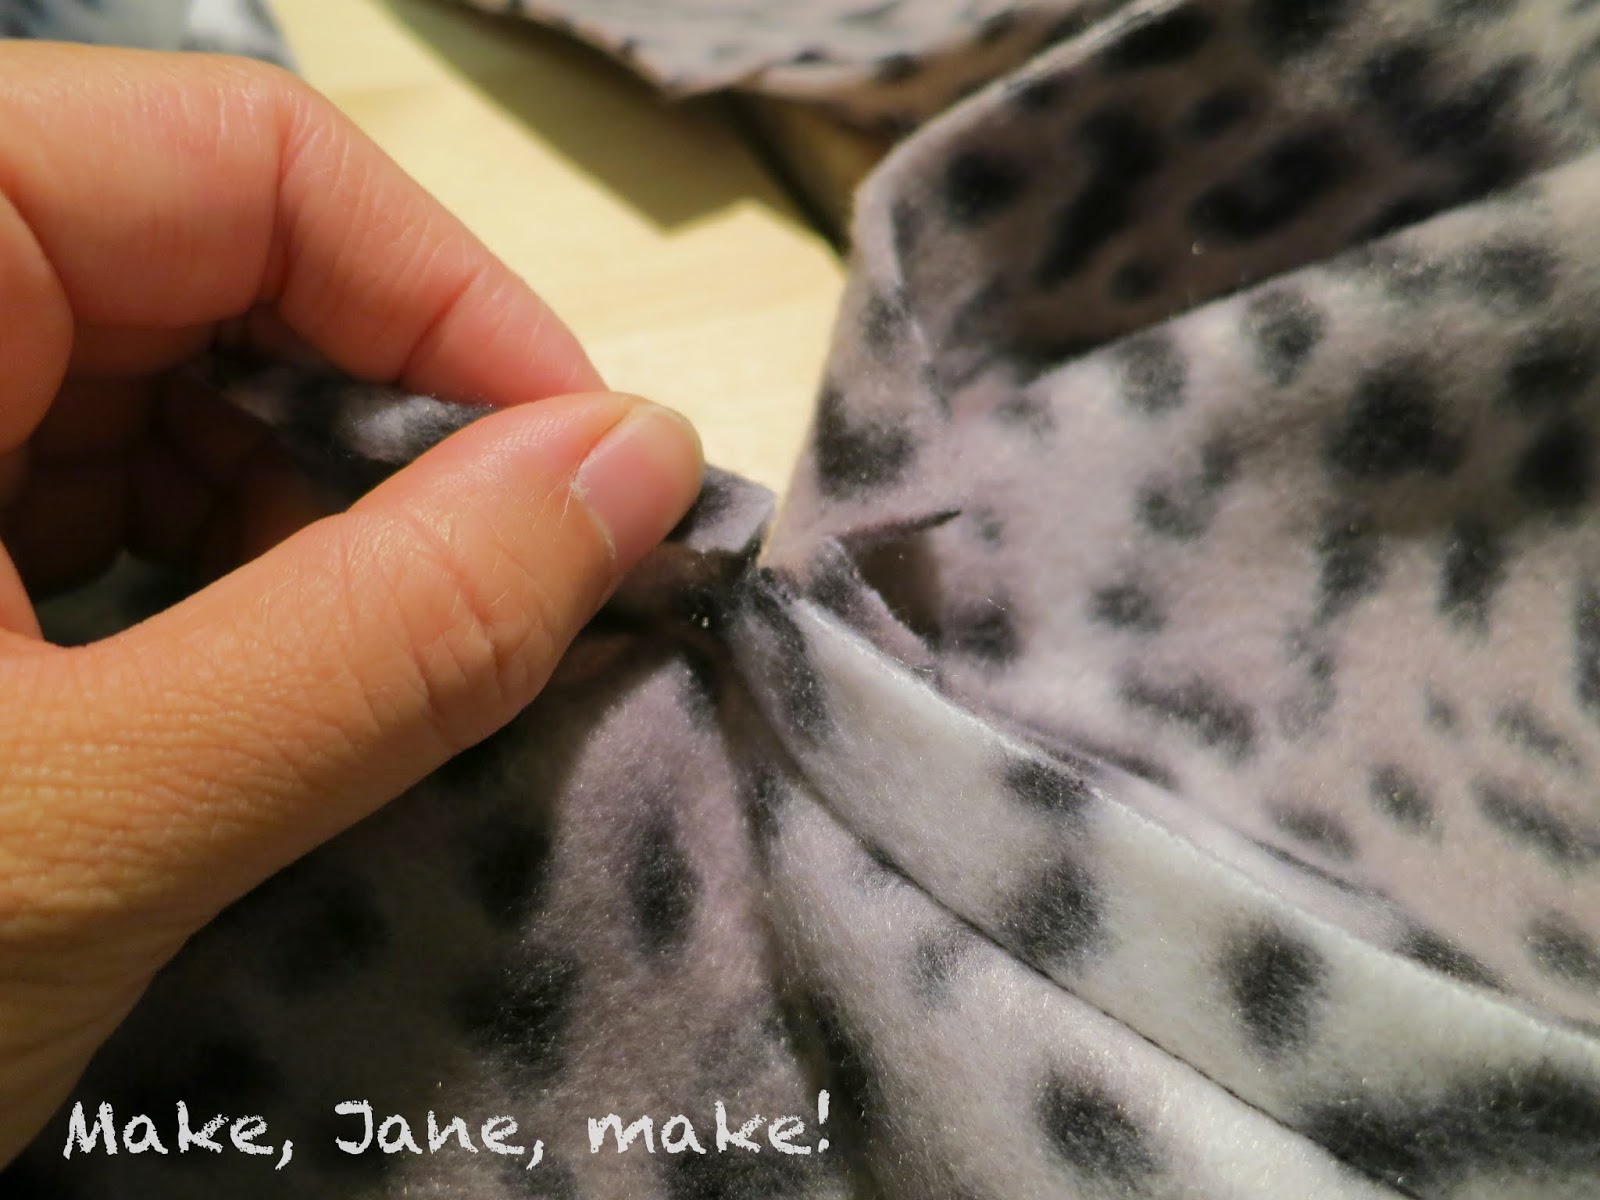
Folding the seam allowance down about a 1/4 inch.
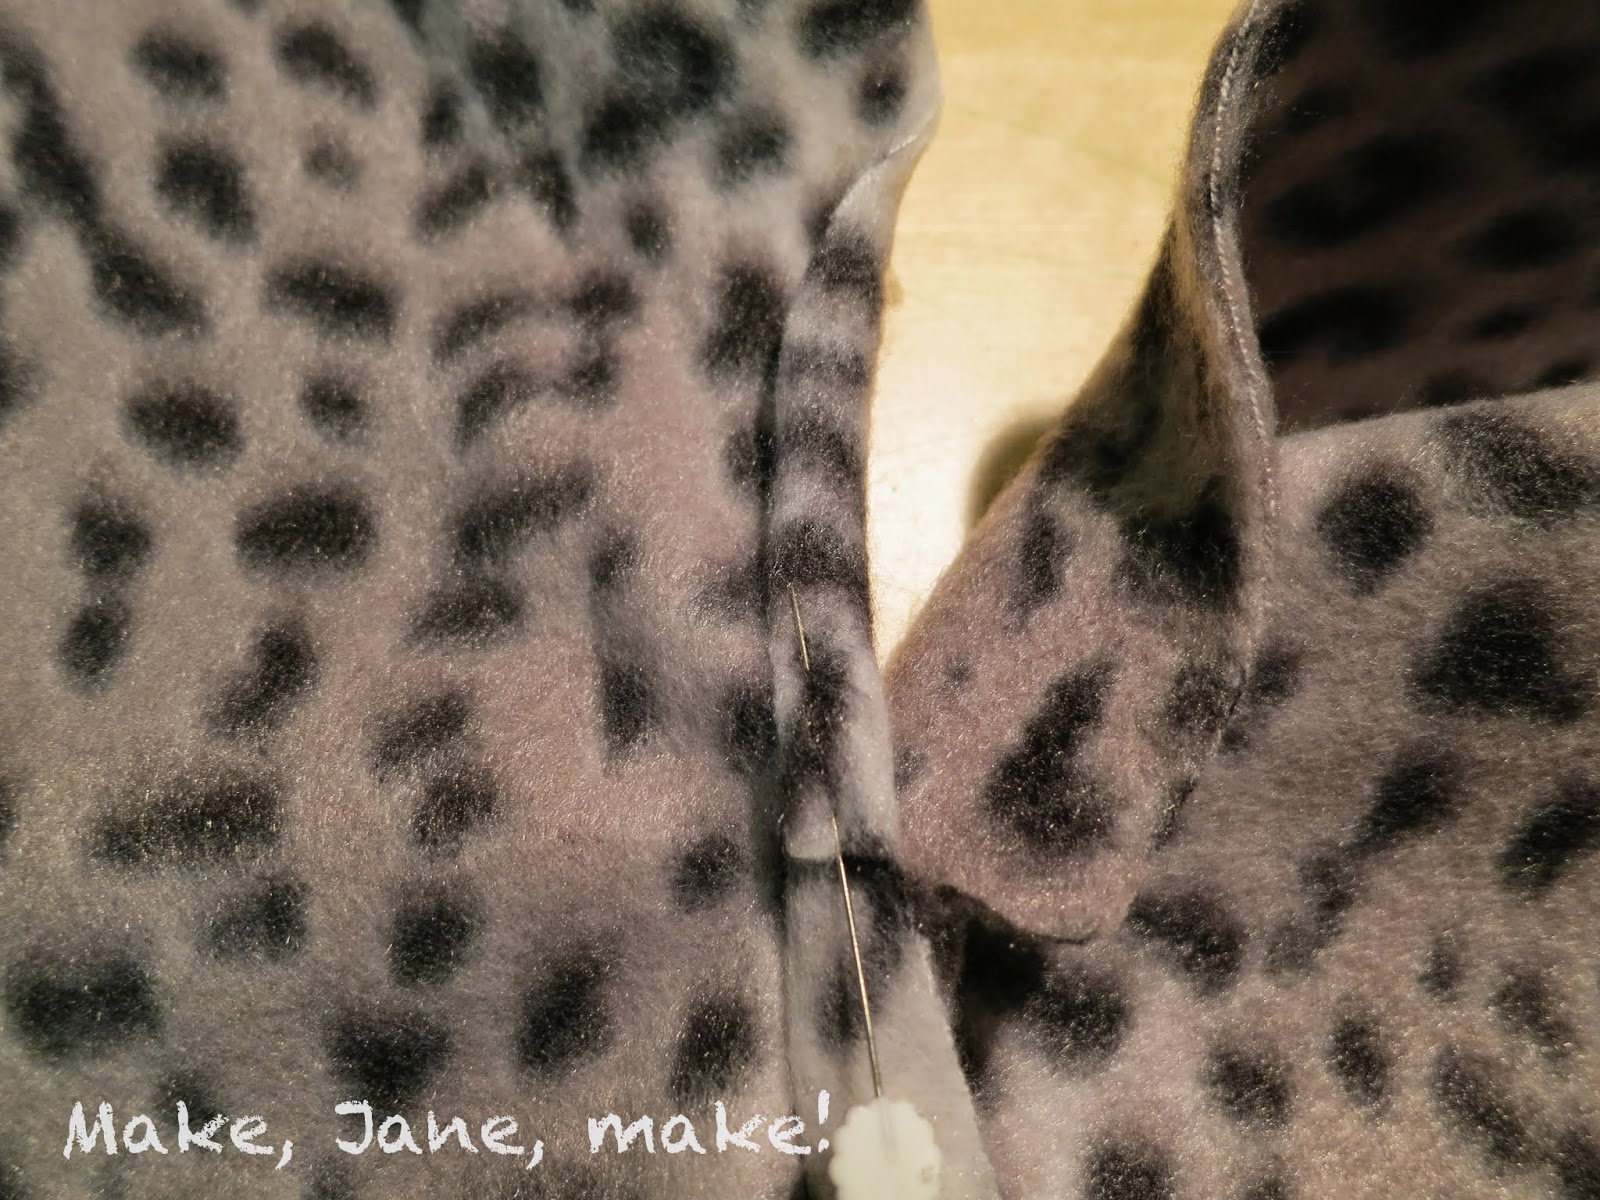
Folding it down again so that the left zipper seam is flush with the rest of the seam allowance depth.

Basting it in place until it's time to insert the zipper


The zipper is sewn on and zipped up. I've flipped it over so that you can see the other side.

When you're all done there should be one side of the zipper seam which is wider and laps over the basted-and-sewn side of the zipper seam. In the picture above, you can see that the left side is wider and completely covers the zipper once the costume is zipped up, giving you a nice smooth front to the costume.
That's about it for the body of the costume... next onto the hood.
No comments:
Post a Comment