Make, Jane, make!: June 2011

Printfriendly

Small Share

Thursday, June 30, 2011

CSA Box: Week 3

Did I mention before how much I love getting deliveries? Here's our box this week:


I have to start freezing the kale this week... there's too much for us to keep up with! Just eating the lettuce keeps us busy most of the week :) And I've got to buy some short ribs... all that bok choy is just calling out for a short rib braising - mmm mmm.

And I believe those little red berries are gooseberries. So few of them though! I think they'll have to be eaten raw or made into a small bit of syrup. Maybe served over yogurt and honey with some cardamom and rosewater?

p.s. Can you tell I'm craving Firnee (Rosewater and cardamom custard)Used to love ordering it from the Armenian Kitchen. Dang it! Why did we buy a house so far away from that place?!? All hubby and I do is crave their shawarma sandwiches and crazy good dips...  Oh gosh, I've eaten dinner and my tummy is totally grumbling again. Curses.
 

Tuesday, June 28, 2011

Onyx Popsicle Mold & Strawberry Vanilla Yogurt Pops


I have to pimp a super great product from a Canadian manufacturer and designed by a Canadian mom!

The Onyx popsicle mold rocks! I had been searching for a non-plastic popsicle mold for a while and found this one which looked very promising and (icing on the cake!) was Canadian made. I found it for a great price from podsnpeels.ca and to top it all off PeachyBuy offered a coupon for the site two days later!

I got a chance to try it out this weekend and had great, lip-smacking, mouth-cooling results.


~*^*~^*^~^*^~^*^~^*^~^*^~^*^~^*^~^*^~^*^~^*^~^*^~^*^


Strawberry Vanilla Yogurt Pops
Yield: six small to medium popsicles (perfectly fills the Onyx mold)

300g natural yogurt* or Greek yogurt
scant 1/3 cup honey
1 vanilla bean (or 1 tsp vanilla extract)
1/2 - 2/3 pint fresh strawberries
1/4 - 1/3 cup sugar
*I  like using a yogurt that is purely milk/cream and bacterial cultures. The ones with thickeners (e.g. guar gum) tend to be full of water and get very icy when frozen, which results in something more like a ice milk popsicle than a creamy frozen yogurt pop.

Using a small paring knife, halve your vanilla bean lengthwise and scrap out the seeds. I find using the dull edge of the knife works well for the scraping part.


Grab your half finished container or yogurt...

My favourite yogurt!

... add the vanilla bean scrapings and a little less than a 1/3 cup of honey. Adjust according to your desired sweetness.


Mix it up and fill each mold approximately 2/3 full. Leave a little yogurt to mix with your strawberry puree. If you want really neat demarcations between the strawberry and vanilla layers, you could put the popsicles in the freezer while you prepare the strawberry mixture. However, if you want to swirl the layers together a bit then leave the molds out.

Hull and cut your strawberries into small chunks.

A plump part pint of strawberries from my CSA box.
Place them into a small saucepan with 1/4 to 1/3 cup of sugar, depending on how tart/sweet your strawberries are. (You want it to be slightly sweeter than what your tastebuds would dictate for room temperature... I find that the freezing cold always makes everything taste a little less intense). 


Cook until the mixture is bubbling and the strawberries are starting to break down. Use a handblender or potato masher to puree/mash the strawberries to a smooth or slightly chunky consistency (your choice!). 

Let cool slightly and mix together with your leftover vanilla yogurt. Pour into the molds. Swirl the two colours together with a chopstick or knife if you want and place into the freezer.


The great thing about the Onyx mold is that the spill/catcher rims have a little silicone ring to hold the popsicle sticks in exactly the height you want.


They are also super easy to unmold (just holding it in your hand or a short spell under cool running water) and...


...single serving frozen yogurt perfection! You could also easily unmold all of them, wrap them in a bit of parchment or wax paper, store them in a zip top bag in the freezer and use the mold to make more flavours.


These are great because I know exactly what went into them - good quality organic yogurt, local honey, local organic strawberries, and organic sugar. Next time I think I'm going to make neapolitan ones. I may experiment with a covert recipe as well. I'll keep you posted.


Friday, June 24, 2011

Garlic Scape Pizza

I had a strange item in my CSA box this week. It looked vaguely familiar, but I couldn't put my finger on it. Our CSA blog was late with their entry about our box contents, so I had no help there. So off to the internet I went with the knowledge that it was likely the greens of some kind of edible bulb. And so I became more intimately acquainted with garlic scapes.


Garlic scapes are the green tops of hard-necked garlic and have a taste quite similar to garlic. They have a crisp texture and I would think that they could be used any way that garlic could. I had a craving for pizza, so that's what I made with them.


~*^*~*^*~*^*~*^*~*^*~*^*~*^*~*^*~*^*~*^*~*^*~*^*~

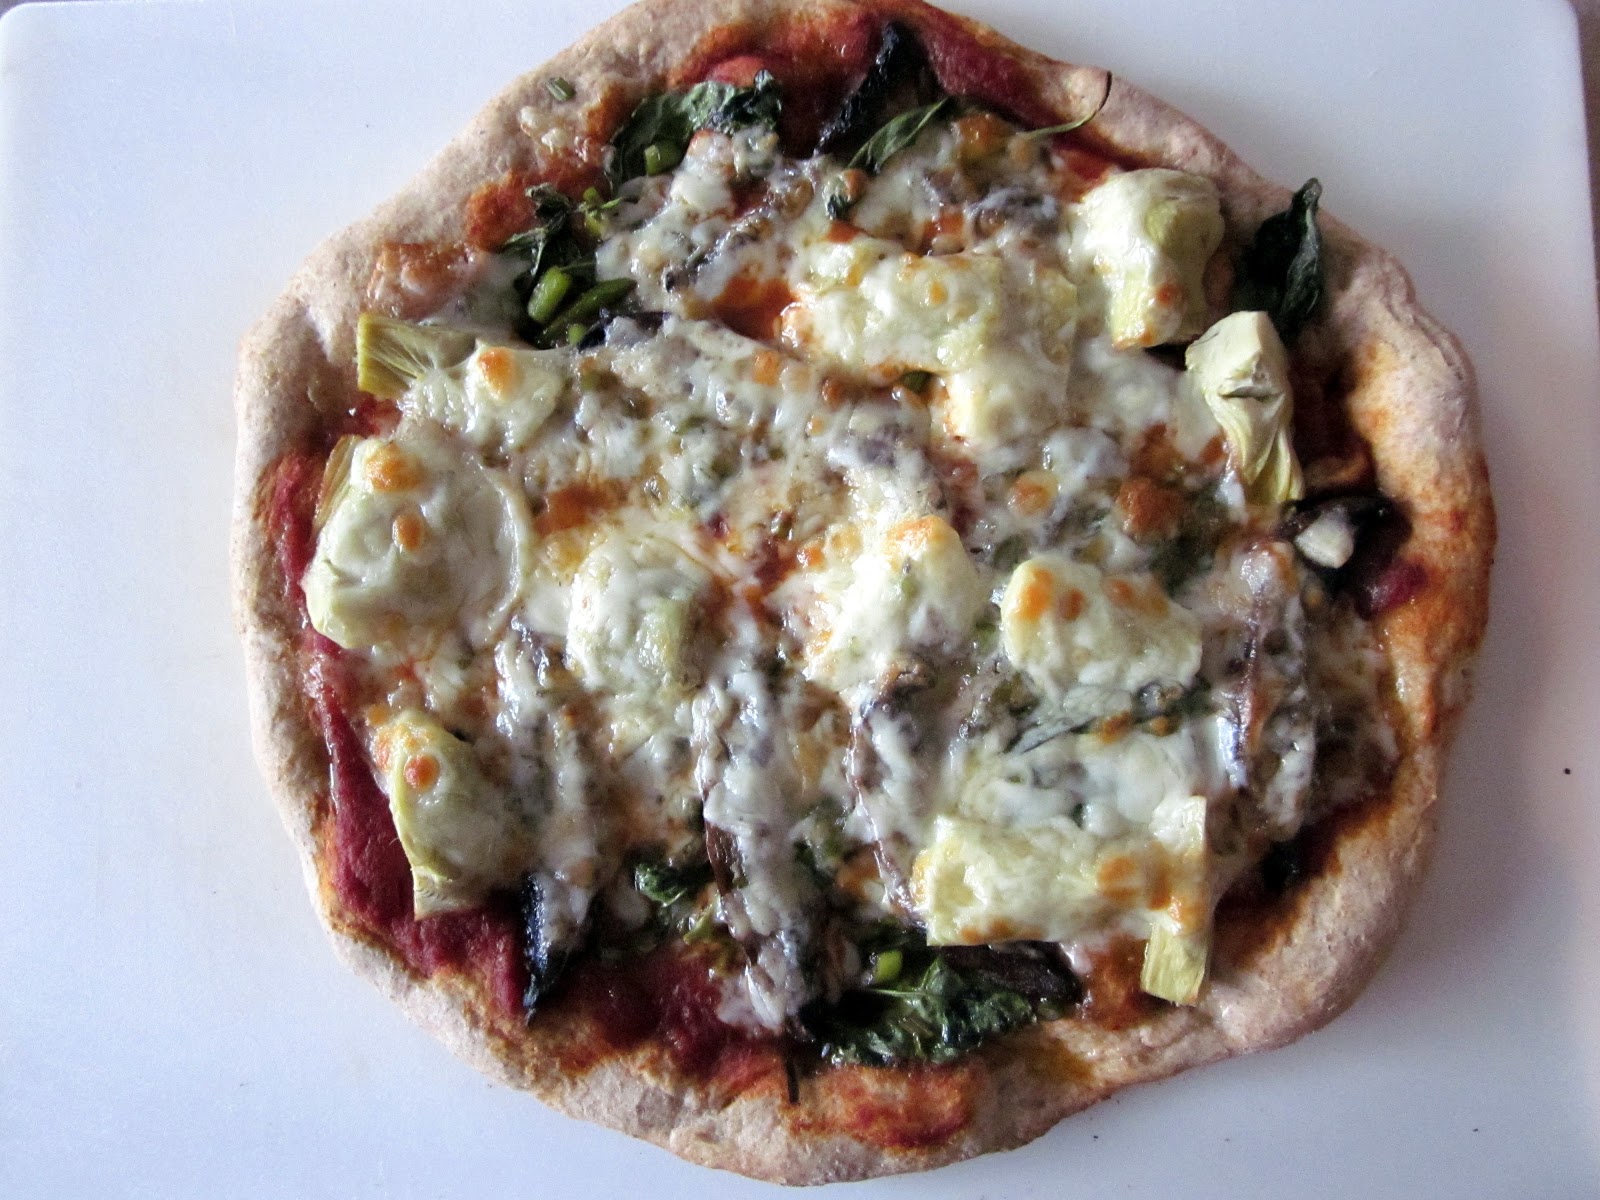
Garlic Scape Pizza with Portobello Mushrooms, Artichoke Hearts, Basil and Provolone on a Whole Wheat Crust
Yield: two 10-inch pizzas

approx 1 lb of whole wheat pizza dough (thin crust) or 2 lbs (thicker crust) *recipe below
1 bunch garlic scapes, roughly chopped
2 large portobello mushrooms, sliced
1-2 tablespoons butter
homemade or prepared tomato sauce or paste
1 can artichokes hearts, drained and quartered (frozen would work too)
1 small bunch basil leaves, roughly torn
6-8 slices mild provolone
1 oz aged provolone, shaved
olive oil
parmesan or grano padano


Preheat your oven (and pizza stone if you have one) to 425 or 450F. Make sure that the stone and oven are really well preheated, as this will help keep your pizza crust crisp on the bottom.

Garlic scapes, roughly chopped

Mise en place

Saute the garlic scapes and mushrooms with butter over medium heat just until fragrant and slightly softened, about 2 minutes.

mmm... mushrooms and garlic scapes cooking in butter!

Spread a generous amount of tomato paste over your prepared pizza dough and arrange your ingredients as you like.


Layer your cheeses on. I didn't add any to mine, but I think some grated Parmesan or other hard cheese would be nice to add at this point as well. Drizzle with olive oil.


Transfer to your well heated oven and bake until the cheeses are bubbling and starting to brown. Depending on how hot your oven is and how thickly you layered on your toppings this may be 20-30 minutes. You'll smell it when it's ready!

The house smelled so good!
I think this pizza would also be great made with garlic scape pesto (next experiment if we receive garlic scapes again!)  in place of tomato sauce. I opted for tomato sauce since I figured the kids would be more open to the traditional sweet red tang of tomatoes, especially since I was making a pizza with veggies that most kids wouldn't eat in non-pizza form :)


Here's how I made my Whole Wheat Pizza Crust:

I love the feel of dough.

1 cup warm water
1 tablespoon sugar
scant tablespoon active dry yeast
1 tsp salt
2 tablespoons olive oil
2 to 2-1/2 cups whole wheat flour, plus more for dusting

In a small measuring cup or bowl, proof yeast with sugar and water until foamy, about 5-7 minutes.
Pour into the your mixing bowl. Add salt and olive oil.

Using a wooden spoon or a bread hook in a electric mixer, add the flour a half-cup at a time until the dough starts to come together and not stick to the sides.

Once the dough seems handleable, remove it from the bowl and start kneading it on a lightly floured work surface (adding only as much flour as is needed to keep it from sticking). Keep kneading until the dough becomes elastic and springs back into a ball shape when gently flattened out with the palm of your hand.

Lightly oil your mixing bowl and return the dough to the bowl. Roll the dough around in the oil a few times to make sure the surface is coated. Cover with a wet cloth and leave to rise in a warm area until doubled in size (about 1-2 hours, depending on the ambient temperature). Shape, top and bake as desired.

If you only wanted to make one pizza, you could easily freeze the other half of the dough. Wrap it tightly in plastic and freeze it in a zip top bag. Defrost in the fridge overnight before using.

Thursday, June 23, 2011

Boys' Jinbei: For two adorable little friends

Sewing for boys... always a challenge. Especially when you can buy t-shirts, dress shirts and shorts for relatively cheap if you are shopping during sale periods. Lots of people ask me if I make many of the clothes for my boys - the truth is that I don't. I really don't see the point when I can buy them a shirt or pants for under $5 during clearance sales.

However, I do love sewing those little things that boys will wear for special occasions that don't seem to come in as many styles and varieties as girls' clothing. Like bowties, suit jackets, hats, etc. When I get the photos, I'll write a post about my boys' outfits for my brother's wedding. In this particular instance, I wanted to make a nice gift for a two brothers (three and one years old) that could be worn during the summer Japanese festivals... they being of Japanese heritage :)

I know that yukata and jinbei can be bought in our area with relative ease, but the idea of trying my hand at sewing a couple using some very Westernized fabric seemed like a good cause for starting from scratch. As with most boys their age, these two love vehicles of all kinds. I found some Thomas the Tank Engine fabric at Fabricland that had a smallish repetitive design that I hoped would translate well into a child's top and bottom and started to research.

Not having any examples at home or any working idea of how to make one, I turned to Google. (Google Is Your Friend) Most of the pictures and patterns I found were in Japanese, but I found a site that had measurements for a child's jinbei around the size I needed. The construction seemed simple enough and the measurements were clearly marked, so I set to work.


The finished product looks like the real thing to my inexperienced eyes. I also made some shorts to complete the ensemble.


The proof will be in the pudding when the brothers actually try them on. I hope not too many alterations are needed!


***UPDATE: The outfits were sized correctly and caused quite some excitement (boys and their trains :). But did anyone else notice the un-hemmed sleeves on the larger jinbei in the above picture??? Ooops! Mommy brain strikes again!

Wednesday, June 22, 2011

Farmshare Goodness: Strawberry Rhubarb Pie

Who can receive strawberries and rhubarb together and not see pie? I'd always been more of an apple pie person, but I was more than converted after trying the strawberry rhubarb pie from Organics Family Farm during their PYO strawberry season a few years ago. Their PYO organic strawberries came in two different varieties during the period I was there and were absolutely delicious! Head and shoulders above all the other bland PYO strawberries available. And the pie was to die for, my hubby and I ate the whole 8 inch pie in one sitting. Our excuse? it was still hot from the oven when I bought it, and I was nursing at the time :) Hey, any excuse is a good excuse when it comes to eating pie.

So when my farmshare last week included a small pint of strawberries and a big bunch of rhubarb, there was only one thing to do.
Had to make a lattice top. Just seemed like the thing to do for a red pie.

Of course, I had to supplement with a box of organic strawberries from the store and as usual, I didn't have quite the right ingredients (whole wheat flour instead of all-purpose), but when you have that much red, bubbling-over goodness - your hubby will overlook just about any transgression!

Tried something from a Martha Stewart recipe and used orange juice instead of lemon juice in the pie and what a difference it made! The orange juice and rind really accentuated the strawberry-rhubarb combination... it was almost as if I'd added a shot of anise liquor.


The pie was so yummy that I almost forgot to take some pictures... so here's a picture of my piece with a chunk eaten off the end already lol. Hubby and I limited ourselves to two generously sized pieces each.(Although this pie was substantially deeper and larger in diameter than the one we polished off in one sitting - so maybe we really weren't limiting ourselves at all, perhaps we were just full!)

I'm hoping we receive more rhubarb in our box today (it's downstairs right now, just haven't had the opportunity to deal with it yet). Tempting as it is to make another one pie, I would really like to try something that showcases the rhubarb on its own. Still have last week's kale and chard to deal with as well! Off to dream about more cooking and baking!


Saturday, June 18, 2011

Organic Greens in the "Starring" Role

We had a very satisfying dinner last night according to hubby. Here's our refreshing salad made mostly from our farmshare:


Shaved asparagus, sliced radishes, julienned carrots, and avocado morsels nestled in a bed of organic leaf lettuce, drizzled with a lemon vinaigrette. The lettuce was as soft and succulent as Bibb lettuce. The asparagus was tender from the tip all the way down the stalk (no snapping-off needed). The radishes were crisp and not too peppery. And as the veggies were fresh and crisp, the salad was much enjoyed by all - including the picky preschooler and tooth-challenged toddler.

Of course, this salad alone could not have sated hubby, so we needed a small side dish...


Raw greens somewhat alleviated the guilt-factor inherent in southern fried chicken :) Buttermilk is my favourite chicken marinade! It always carries the seasoning right into the deepest, meatiest parts of the humungous thighs and breasts on our butcher's five to six pound chickens.

Our youngest wanted this right away (sadly, but not surprisingly, he recognises the colour of deep-frying :P). Funnily, big brother adamantly insisted that he didn't want chicken. He eventually tried some anyway and immediately responded with "mmmm! crispies!" Who doesn't love fried chicken?!?


I think I will make something with the rhubarb next... like strawberry rhubarb pie! So classic and so good. The chard may be incorporated into a quiche... still thinking about that one. The creative cooking juices are really flowing... love getting stuff delivered/in the mail... especially when it's food~~~

Friday, June 17, 2011

How To Make Yourself (Or Your Hubby) The Office Hero

First start with the best and most classic cookie recipe - chocolate chip. 


Next, make them with a generous amount of sugar (rather than the half amount I usually cut it down to). Although I still snuck in 75% whole wheat flour :)


Then, realize that you don't have any more of the standard chocolate chips and substitute the way more delicious Callebaut chips you have lying around instead.


Bake them to chewy, chocolatey perfection.


Perform quality control before sending them out.


Perhaps a little more QA and QC are required...


Finally, pack your hubby off to work with a little under two dozen of these homemade yums. Save the rest for mommy group and snacking :)


Thursday, June 16, 2011

Yea! Our Farmshare Begins!!!

Gorgeous first box from Zephyr Organics

In the past few years since we've started making a conscious effort to be aware of how our food gets to our table, we've traded yucky bland supermarket meat for an all natural and very local butcher, and have tried our best to stay away from overly processed or artificial foods. (For instance, why does yogurt need guar gum? Unless it's not really yogurt and it is mostly thickened milk products :)

Until recently, I would get most of our produce from a great independent produce supplier, who made an effort to have organic and local produce at reasonable prices... and only in stock when it was well-priced and high quality. Inadvertently, this made me shop more seasonally and locally since she often would not have fruits and vegetables that were not selling at good prices for that particular season. Unfortunately, I was saddened to see a seizure sign on their door this past winter and since then I've been relying on the supermarket for my produce needs.

Luckily, many supermarkets nowadays are starting to understand that their consumers would like some choice in their food purchases and are stocking organic produce more often. However, this still didn't solve one of my main gripes with supermarket produce - freshness. When it has to be bought by a central office and then repackaged and shipped off to one of their many stores, this makes even "Ontario Grown" produce at least a week late in getting to my table. I've been spoiled most of my life by a father, who I thought was pretty corny while I was growing up, because we grew vegetables in our backyard, made tomato sauce for the winter, and bought all our summer fruit from local farm stands where we lived in St. Catharines (hello? fruit belt of Ontario?). So I'm pretty snotty about eating winter tomatoes from the store or buying peaches from the supermarket :P

So I started researching CSA's (community supported agriculture). Check it out here.  I love the idea of supporting our local farmers and paying an upfront and fair price directly to them to supply me with the fruits of their hard labour.

I decided to try out a half-share (vs. a full share) with Zephyr Organics since we were CSA newbies and I didn't know how much freezing and preserving I would be able to do this summer. And here it is all rinsed and laid out...


Look at the size of those rainbow chard leaves! And the kale is the crispest and freshest that I've ever had. (That one lone strawberry is the only misfit... it's from a sad looking bush in my garden :)

So, in an effort to make myself worthy of these tasty morsels, I'm going to try to post about all the good things that come from the farm box and what they become. There may be some items that I wanna learn more about (like rhubarb) and old friends that I'm hoping will challenge me to try something new that will really showcase them (like bok choy). I can hardly wait!